Start Planning Today!
Plan Your Next Adventure with Storyteller Travel
Storyteller Travel is your source for travel planning. Learn about the best foods, destinations, and natural attractions around the world.
Globe Spinning
Where will you go next?
Learn more about the best destinations around the world.
Looking for a specific region? Learn more about Africa, Asia, Europe, North America, Central America, South America, and Oceania.
Travel informed
Why Trust Storyteller Travel?
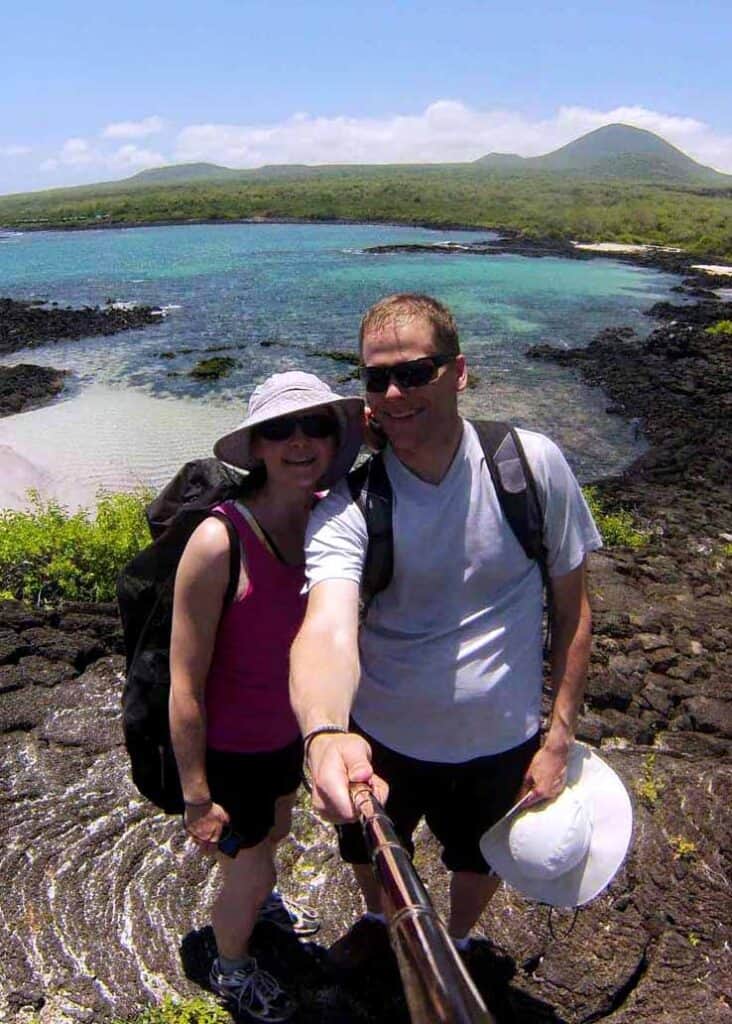
Bryan and Dena are long-time travelers. They lived in South America for six years and now live in Nova Scotia, Canada. And the whole team are travelers and past expats.
Storyteller Travel has been featured and mentioned in many notable publications. These include MSN, National Geographic, CNBC, Ecuador.com, Mashable, Spoon University, Transitions Abroad, and Cigna Global.
What You’ll Learn
While we cover all aspects of travel, we focus on destinations, food, language, and local wildlife.
Destinations
Animals
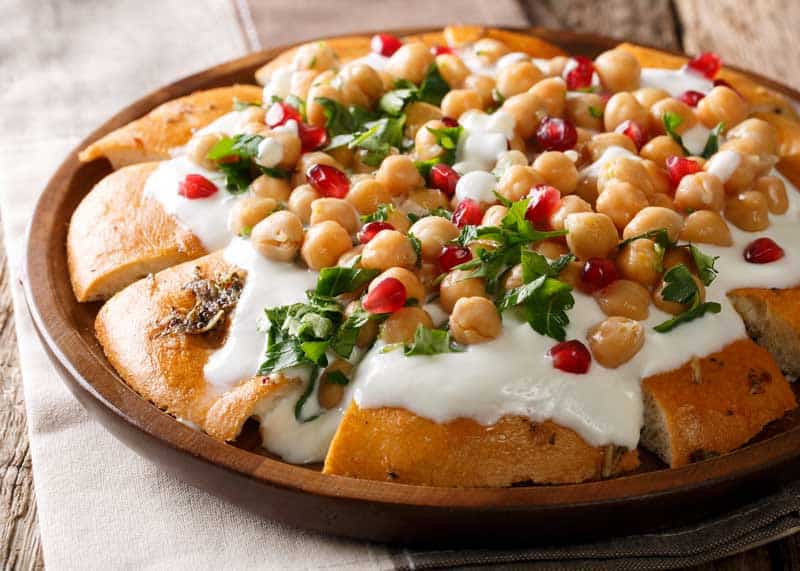
Food
Language
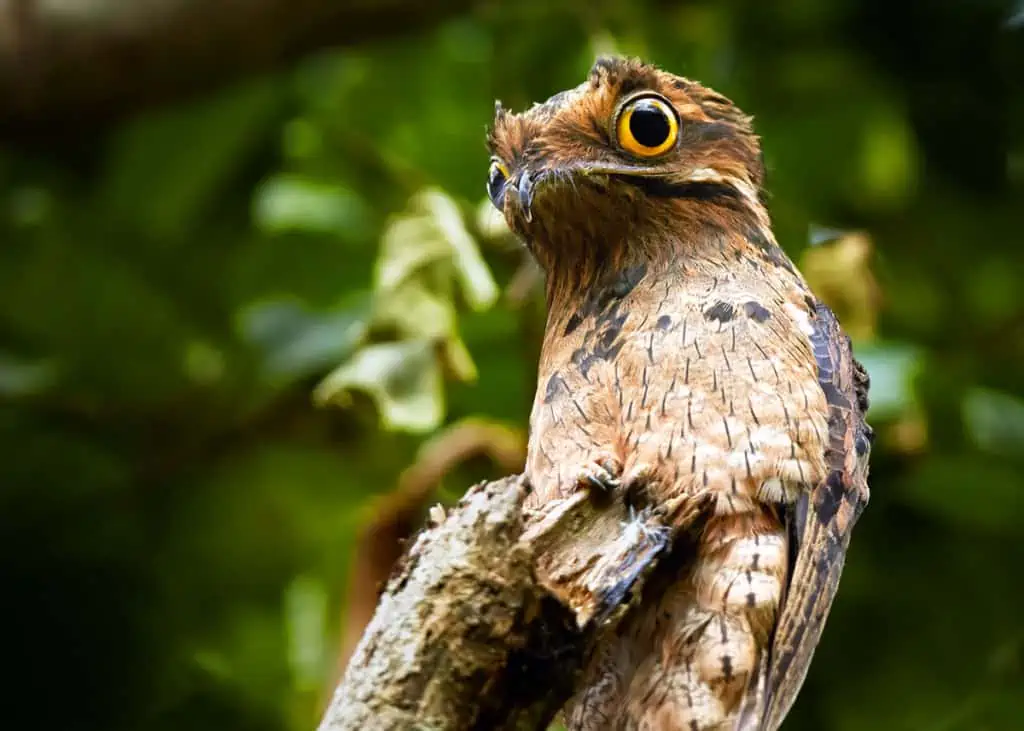
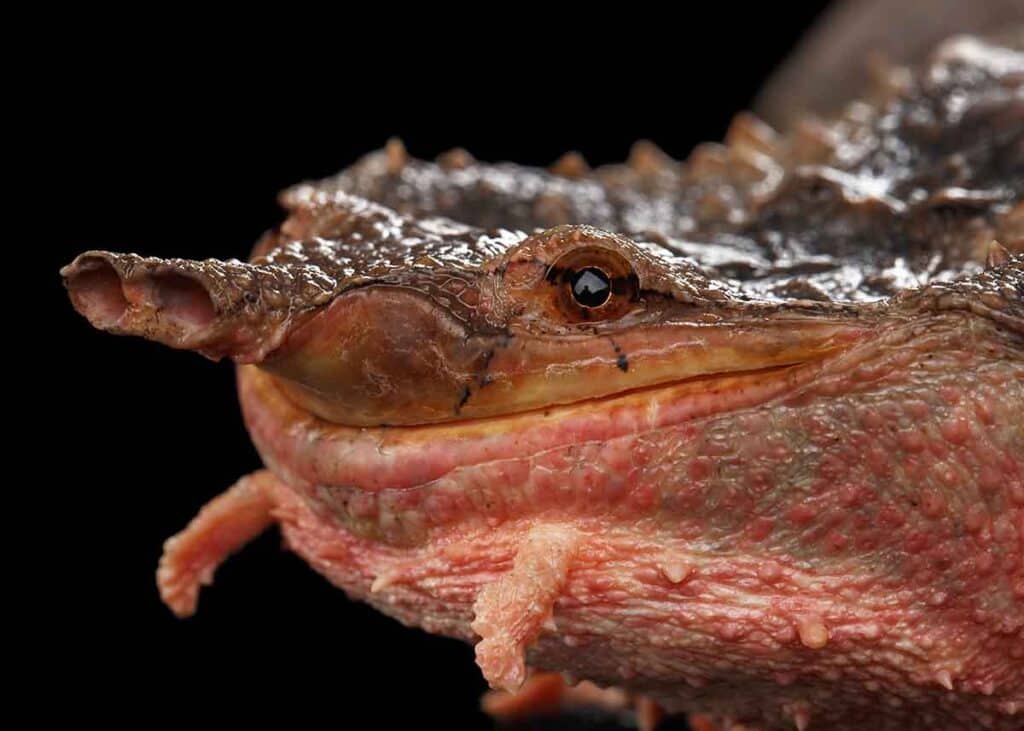
Attention Animal Lovers
If you love animals, you’re in the right place. Over the years, we’ve covered the fastest and ugliest animals. Plus, diets, sounds, and other weird animal facts.
But that’s not all. You’ll also learn about the ugliest fish, birds, and insects.
Plus, do camels have 3 eyelids? Do hippos have pink milk? And why do lizards do pushups?
What other readers
are saying
Over the years, we’ve had thousands of appreciative messages from other readers.
Here are a few of our favorites:
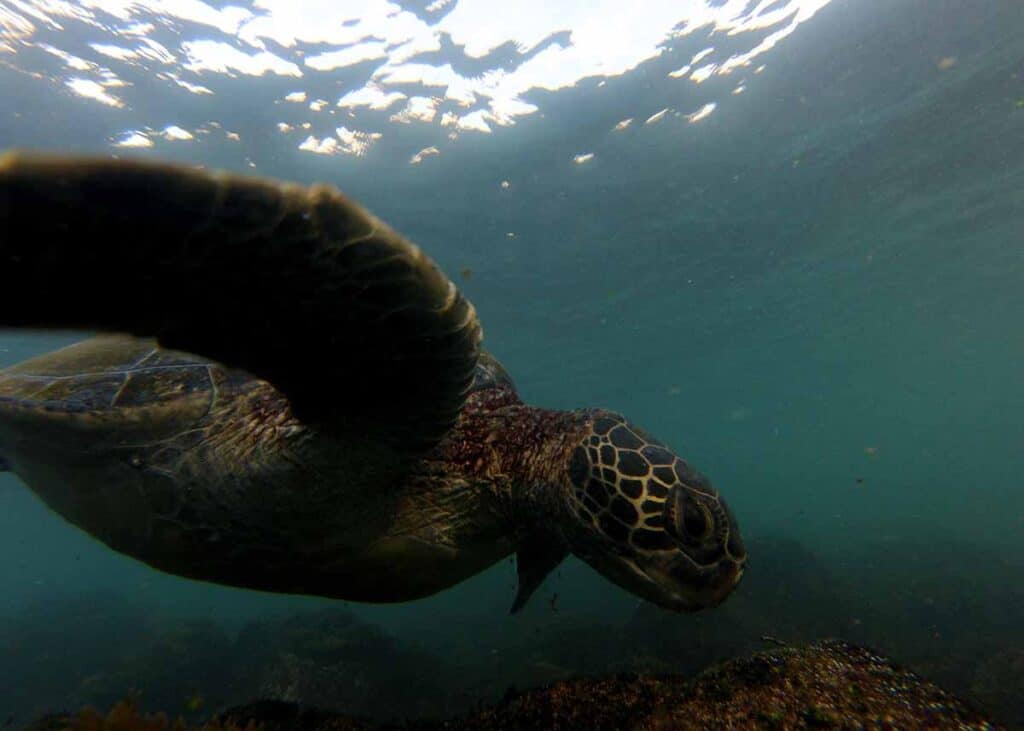
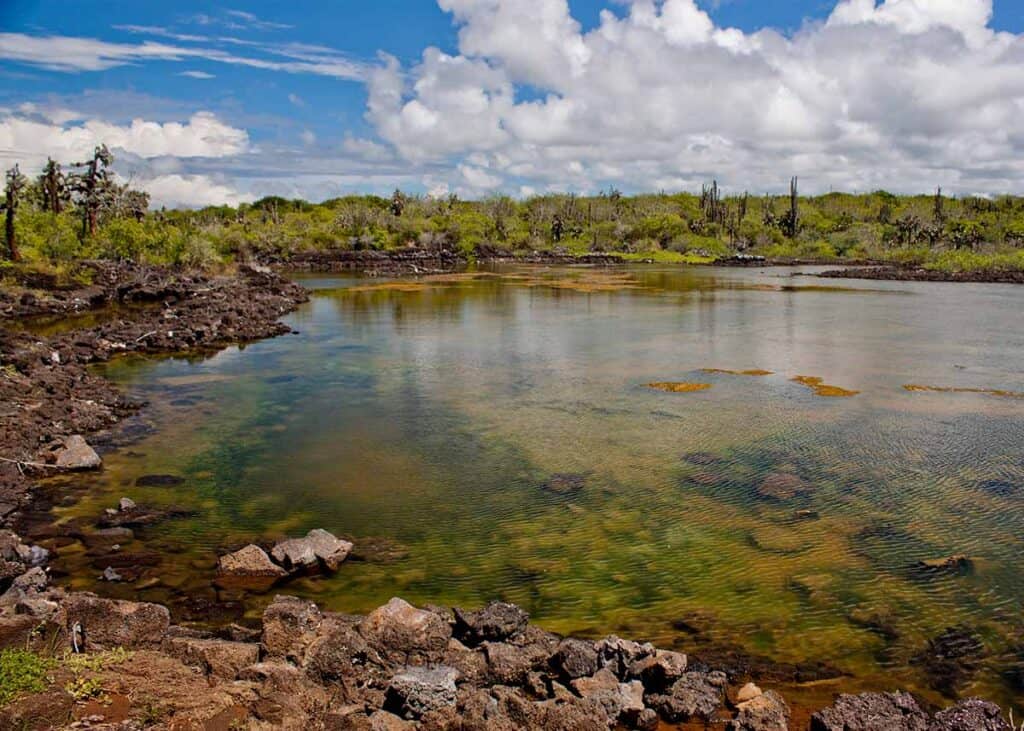
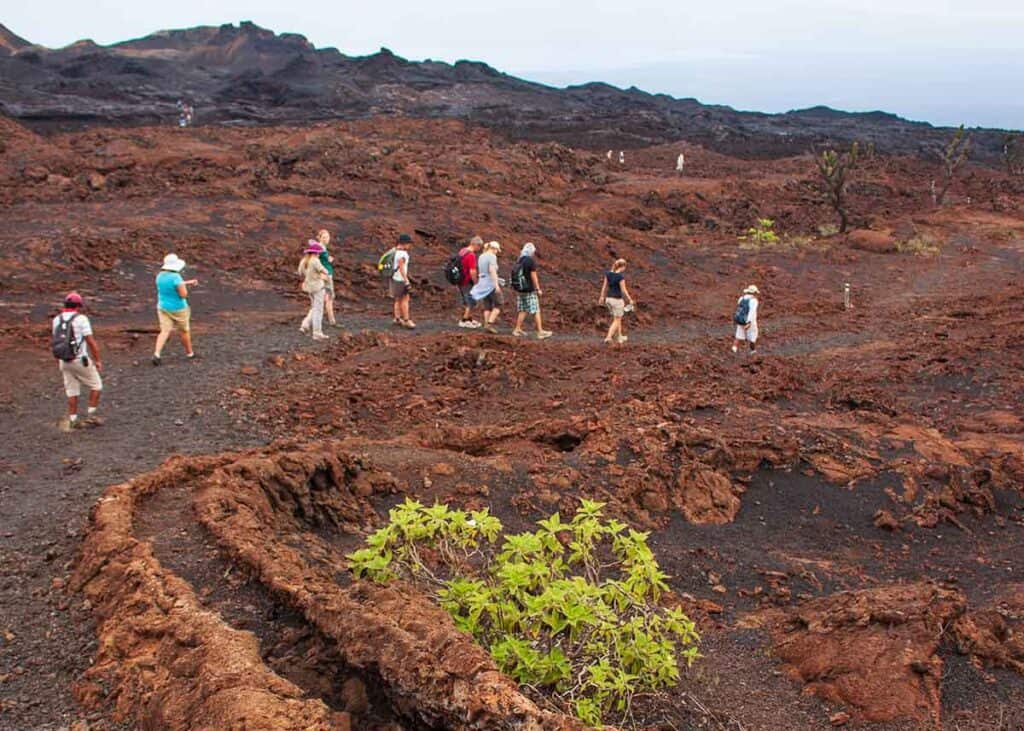
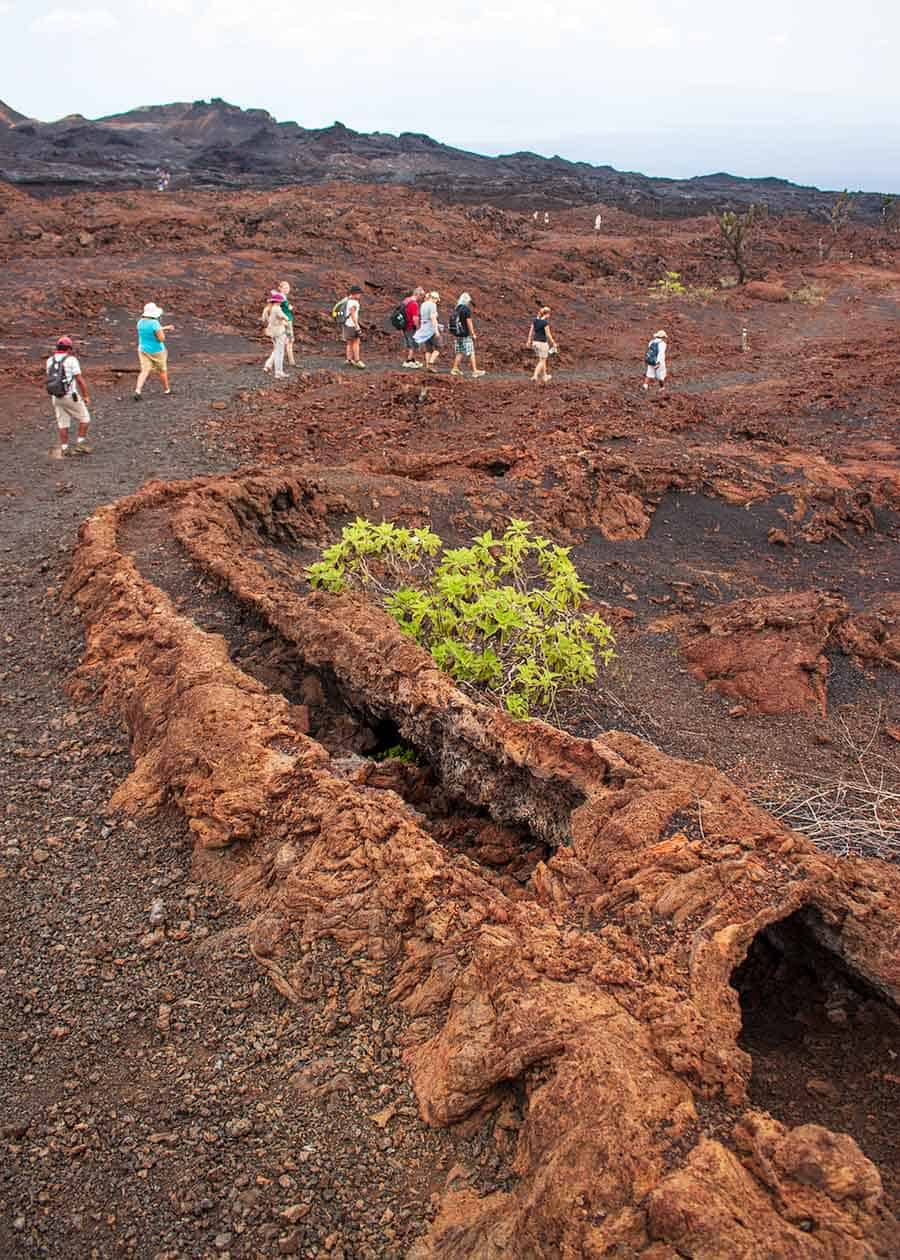
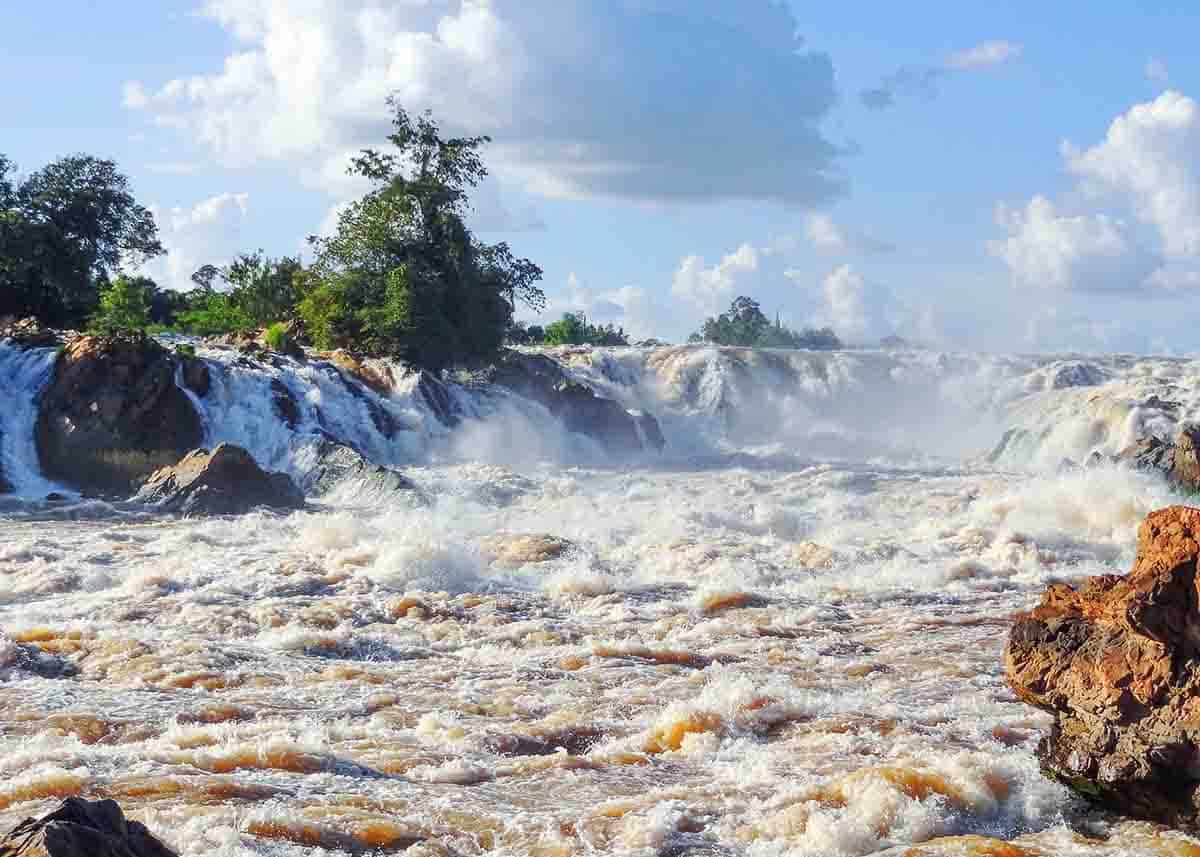
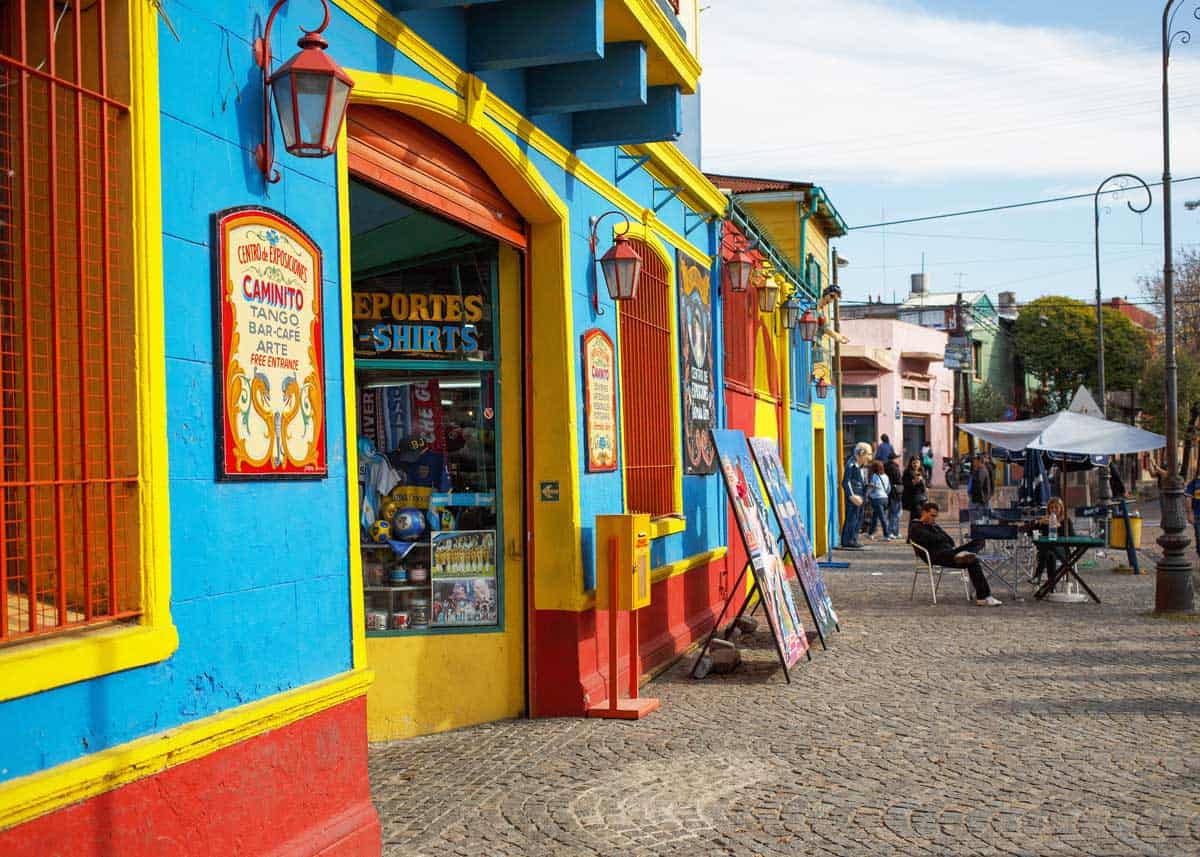
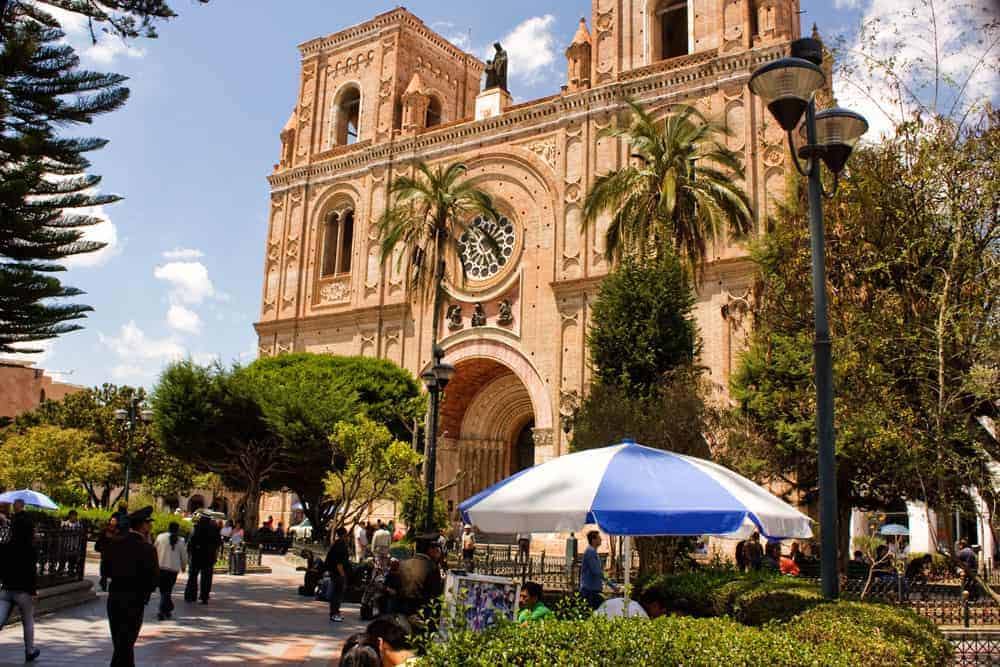
A glimpse of what you can experience in Ecuador
Ecuador is a small country south of Colombia on the Pacific Coast. Despite its small size, it is megadiverse. Here’s what you can experience in Ecuador.
Don’t forget your gear
As you plan your next adventure, you’ll need some gear. To make things easier, we’ve created these guides.
Check out these recommended gear travel, camping, and safaris.